I’ve put together a little post to show you my simple DIY Halloween wreath. I really wanted a wreath for our door but I didn’t want to spend £25+ on one so I scoured Home Bargains for the necessary bits to make my own and I think in total it cost me £5.
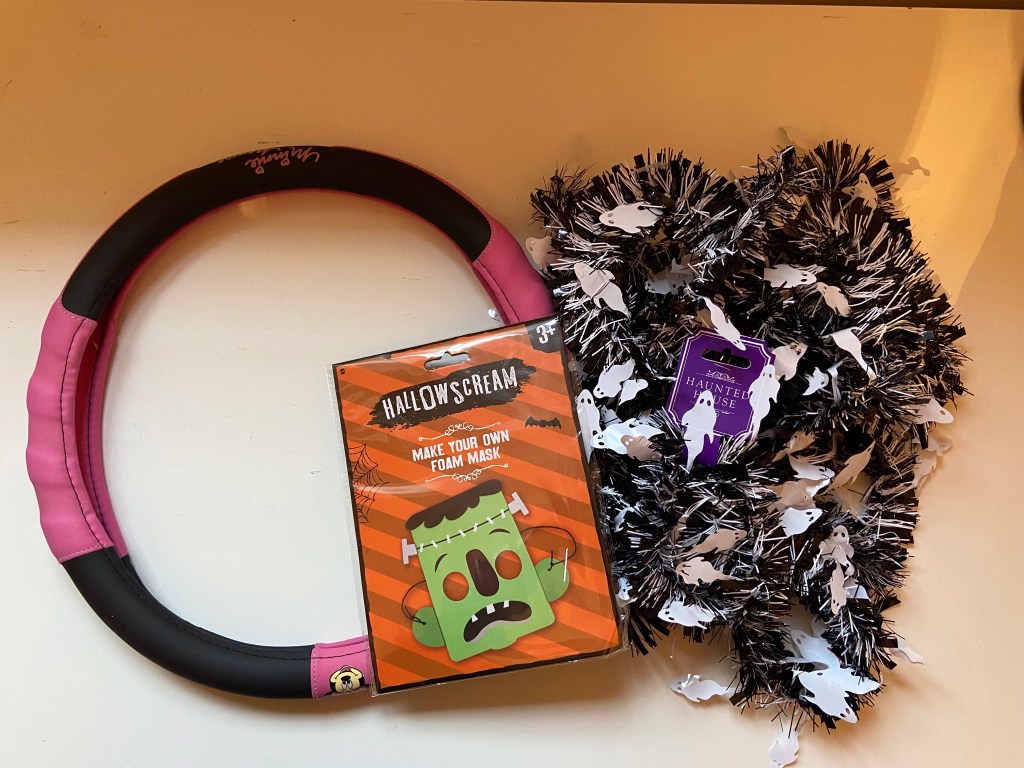
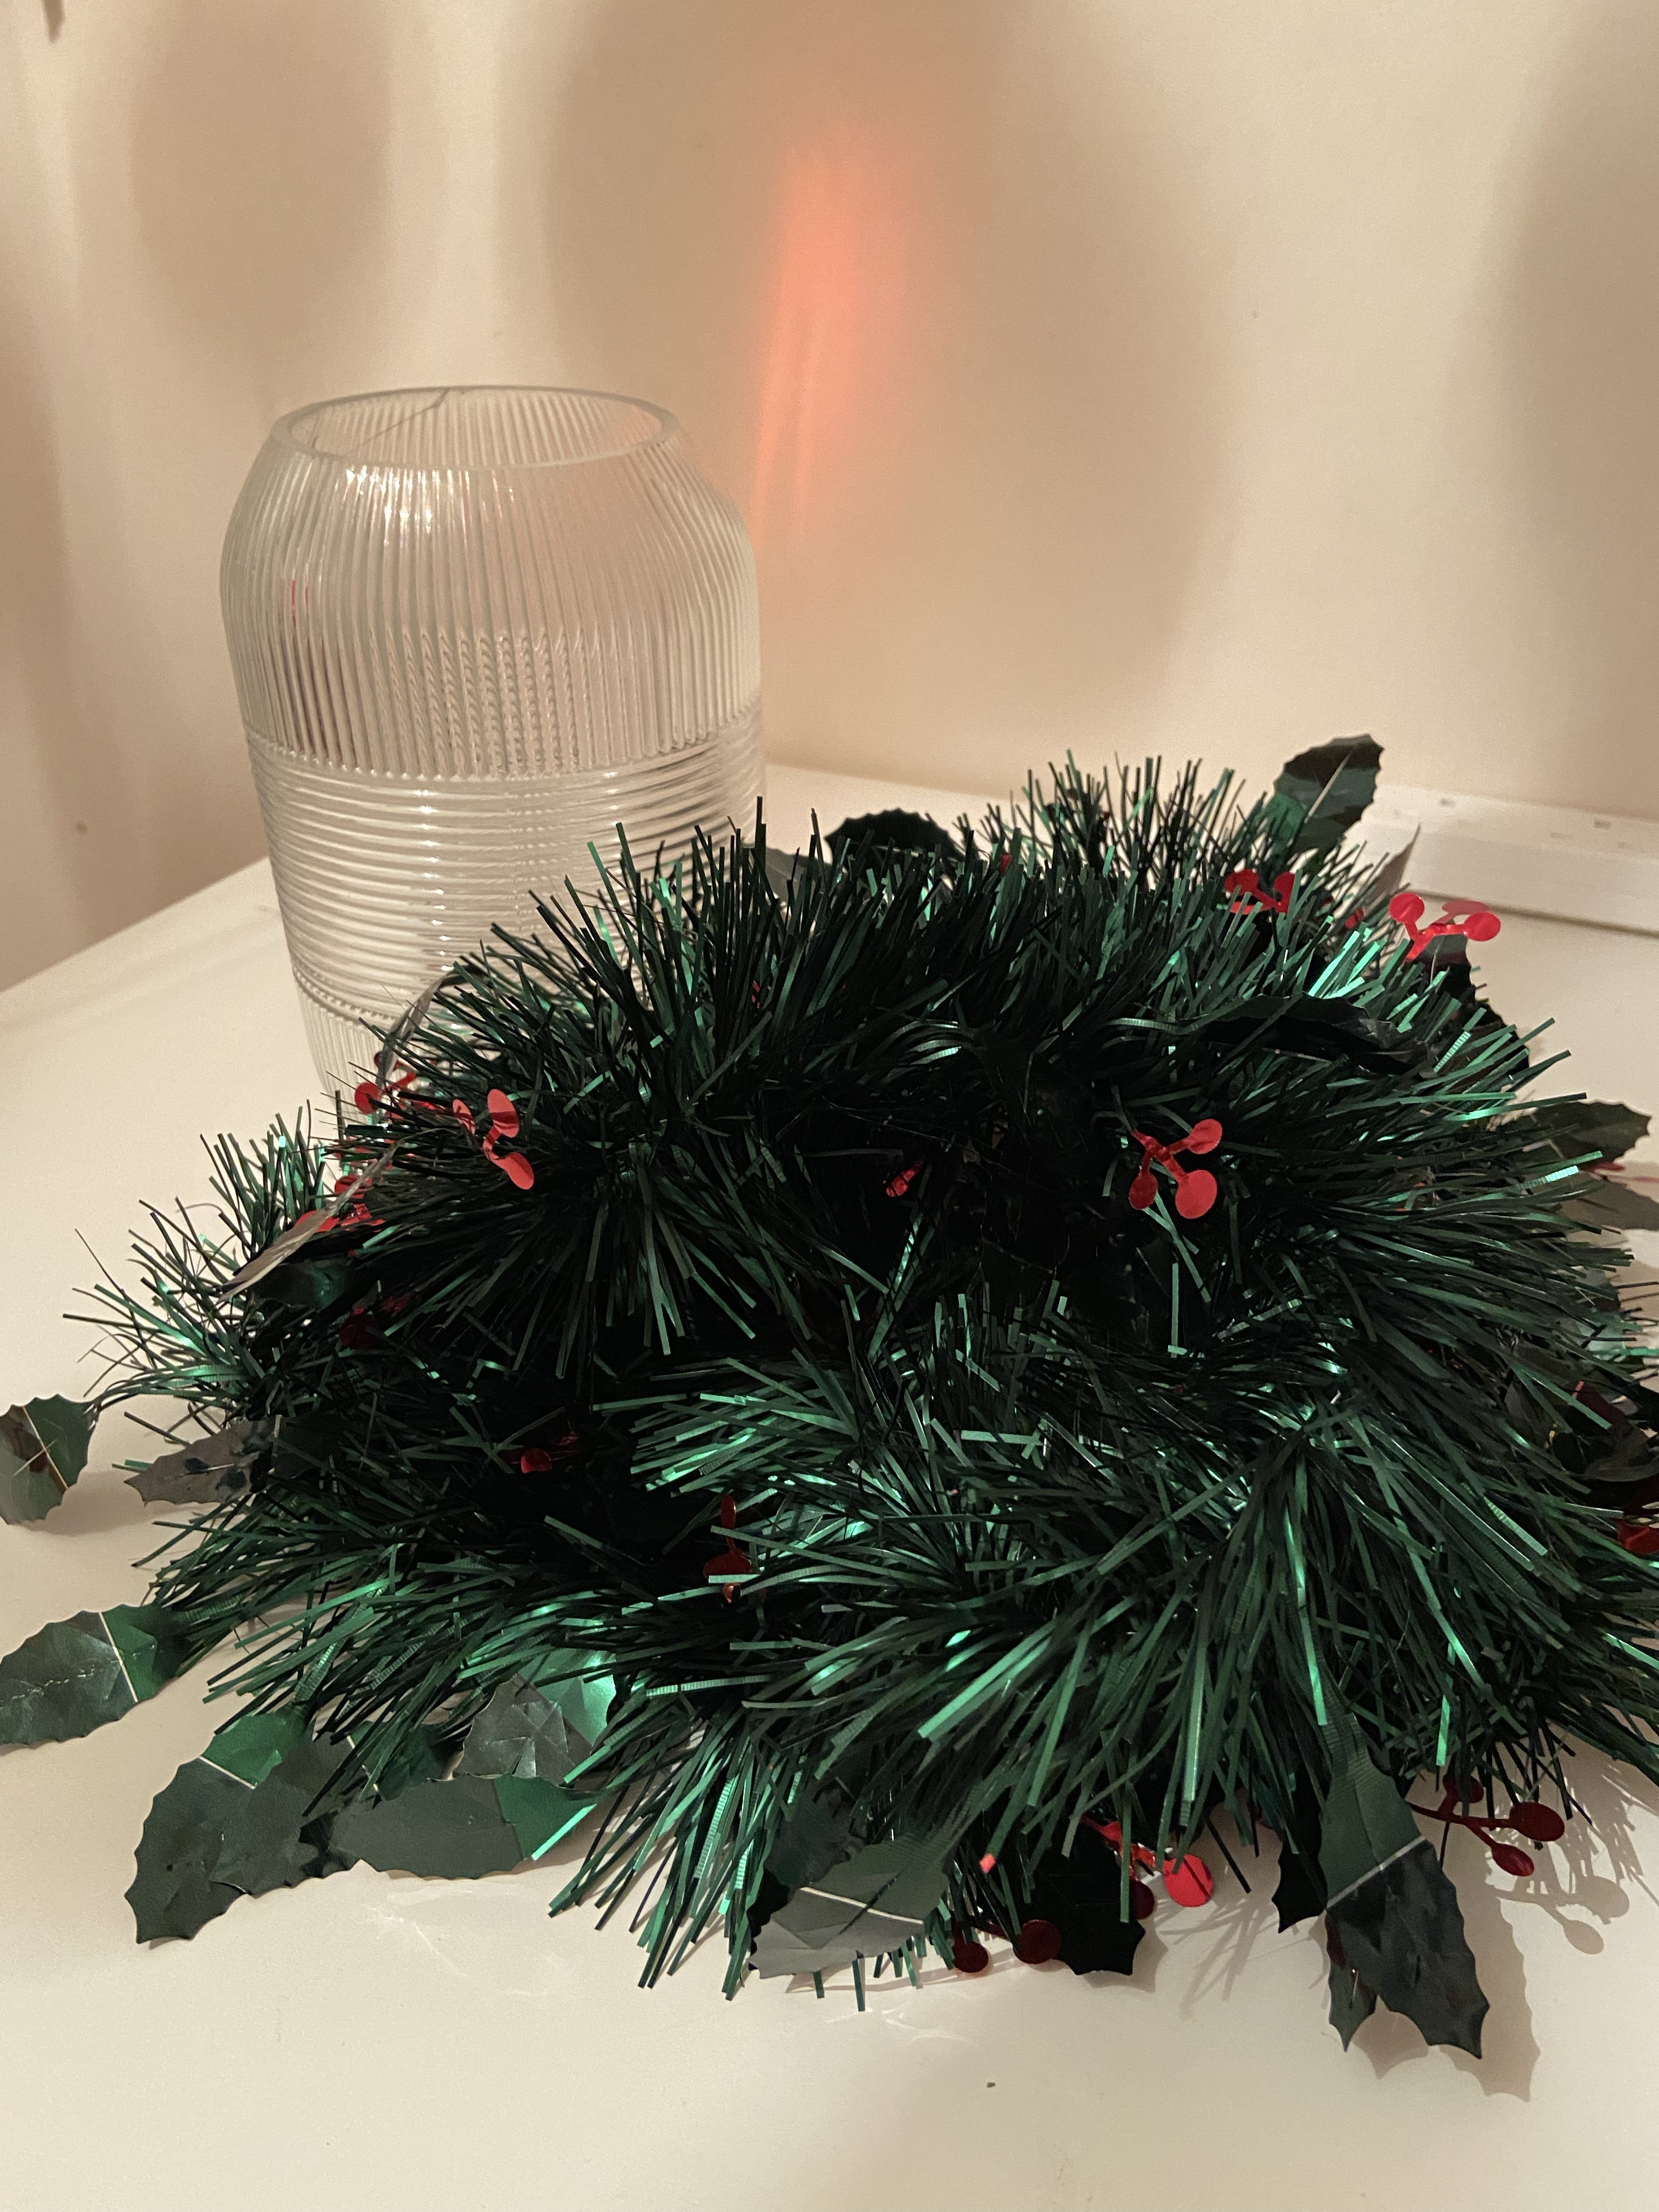
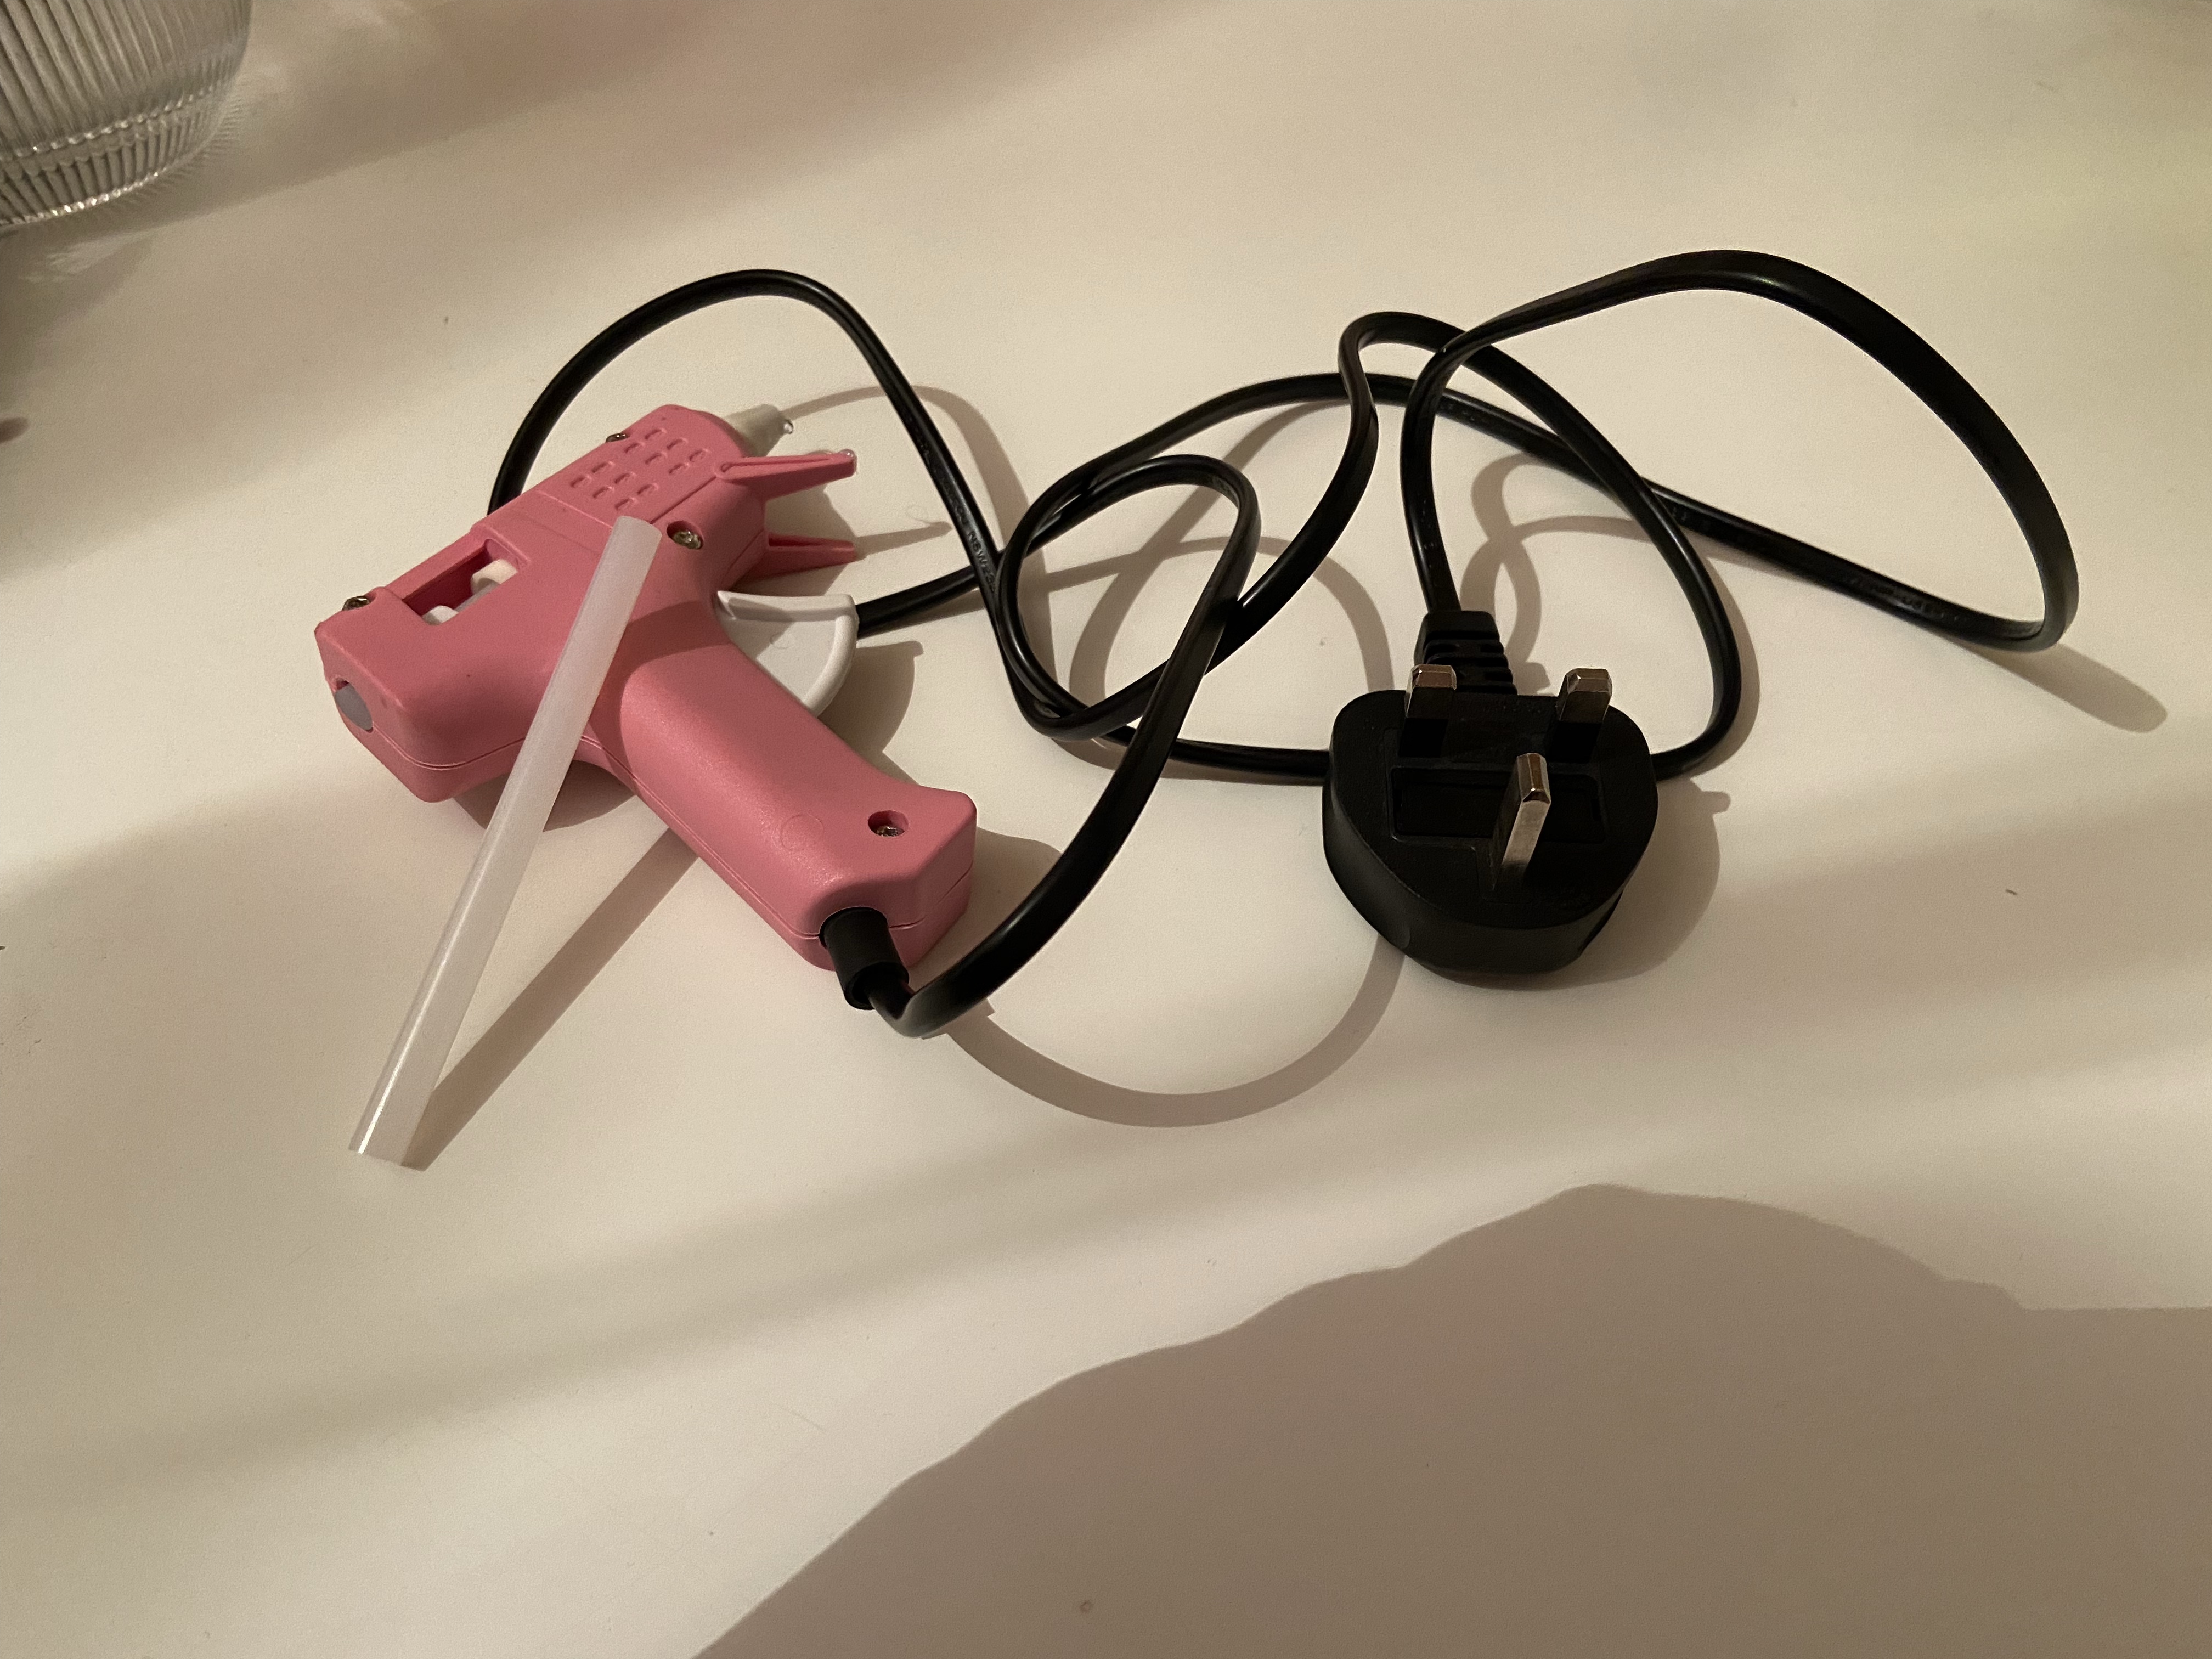
I already had the steering wheel cover which I wasn’t using so that was free. I bought two strands of Halloween tinsel and a face mask kit from Home Bargains. I used my glue gun to secure the tinsel which i wrapped around the steering wheel cover. I then made up the mask and secured it again using the glue gun to the top of the wreath.
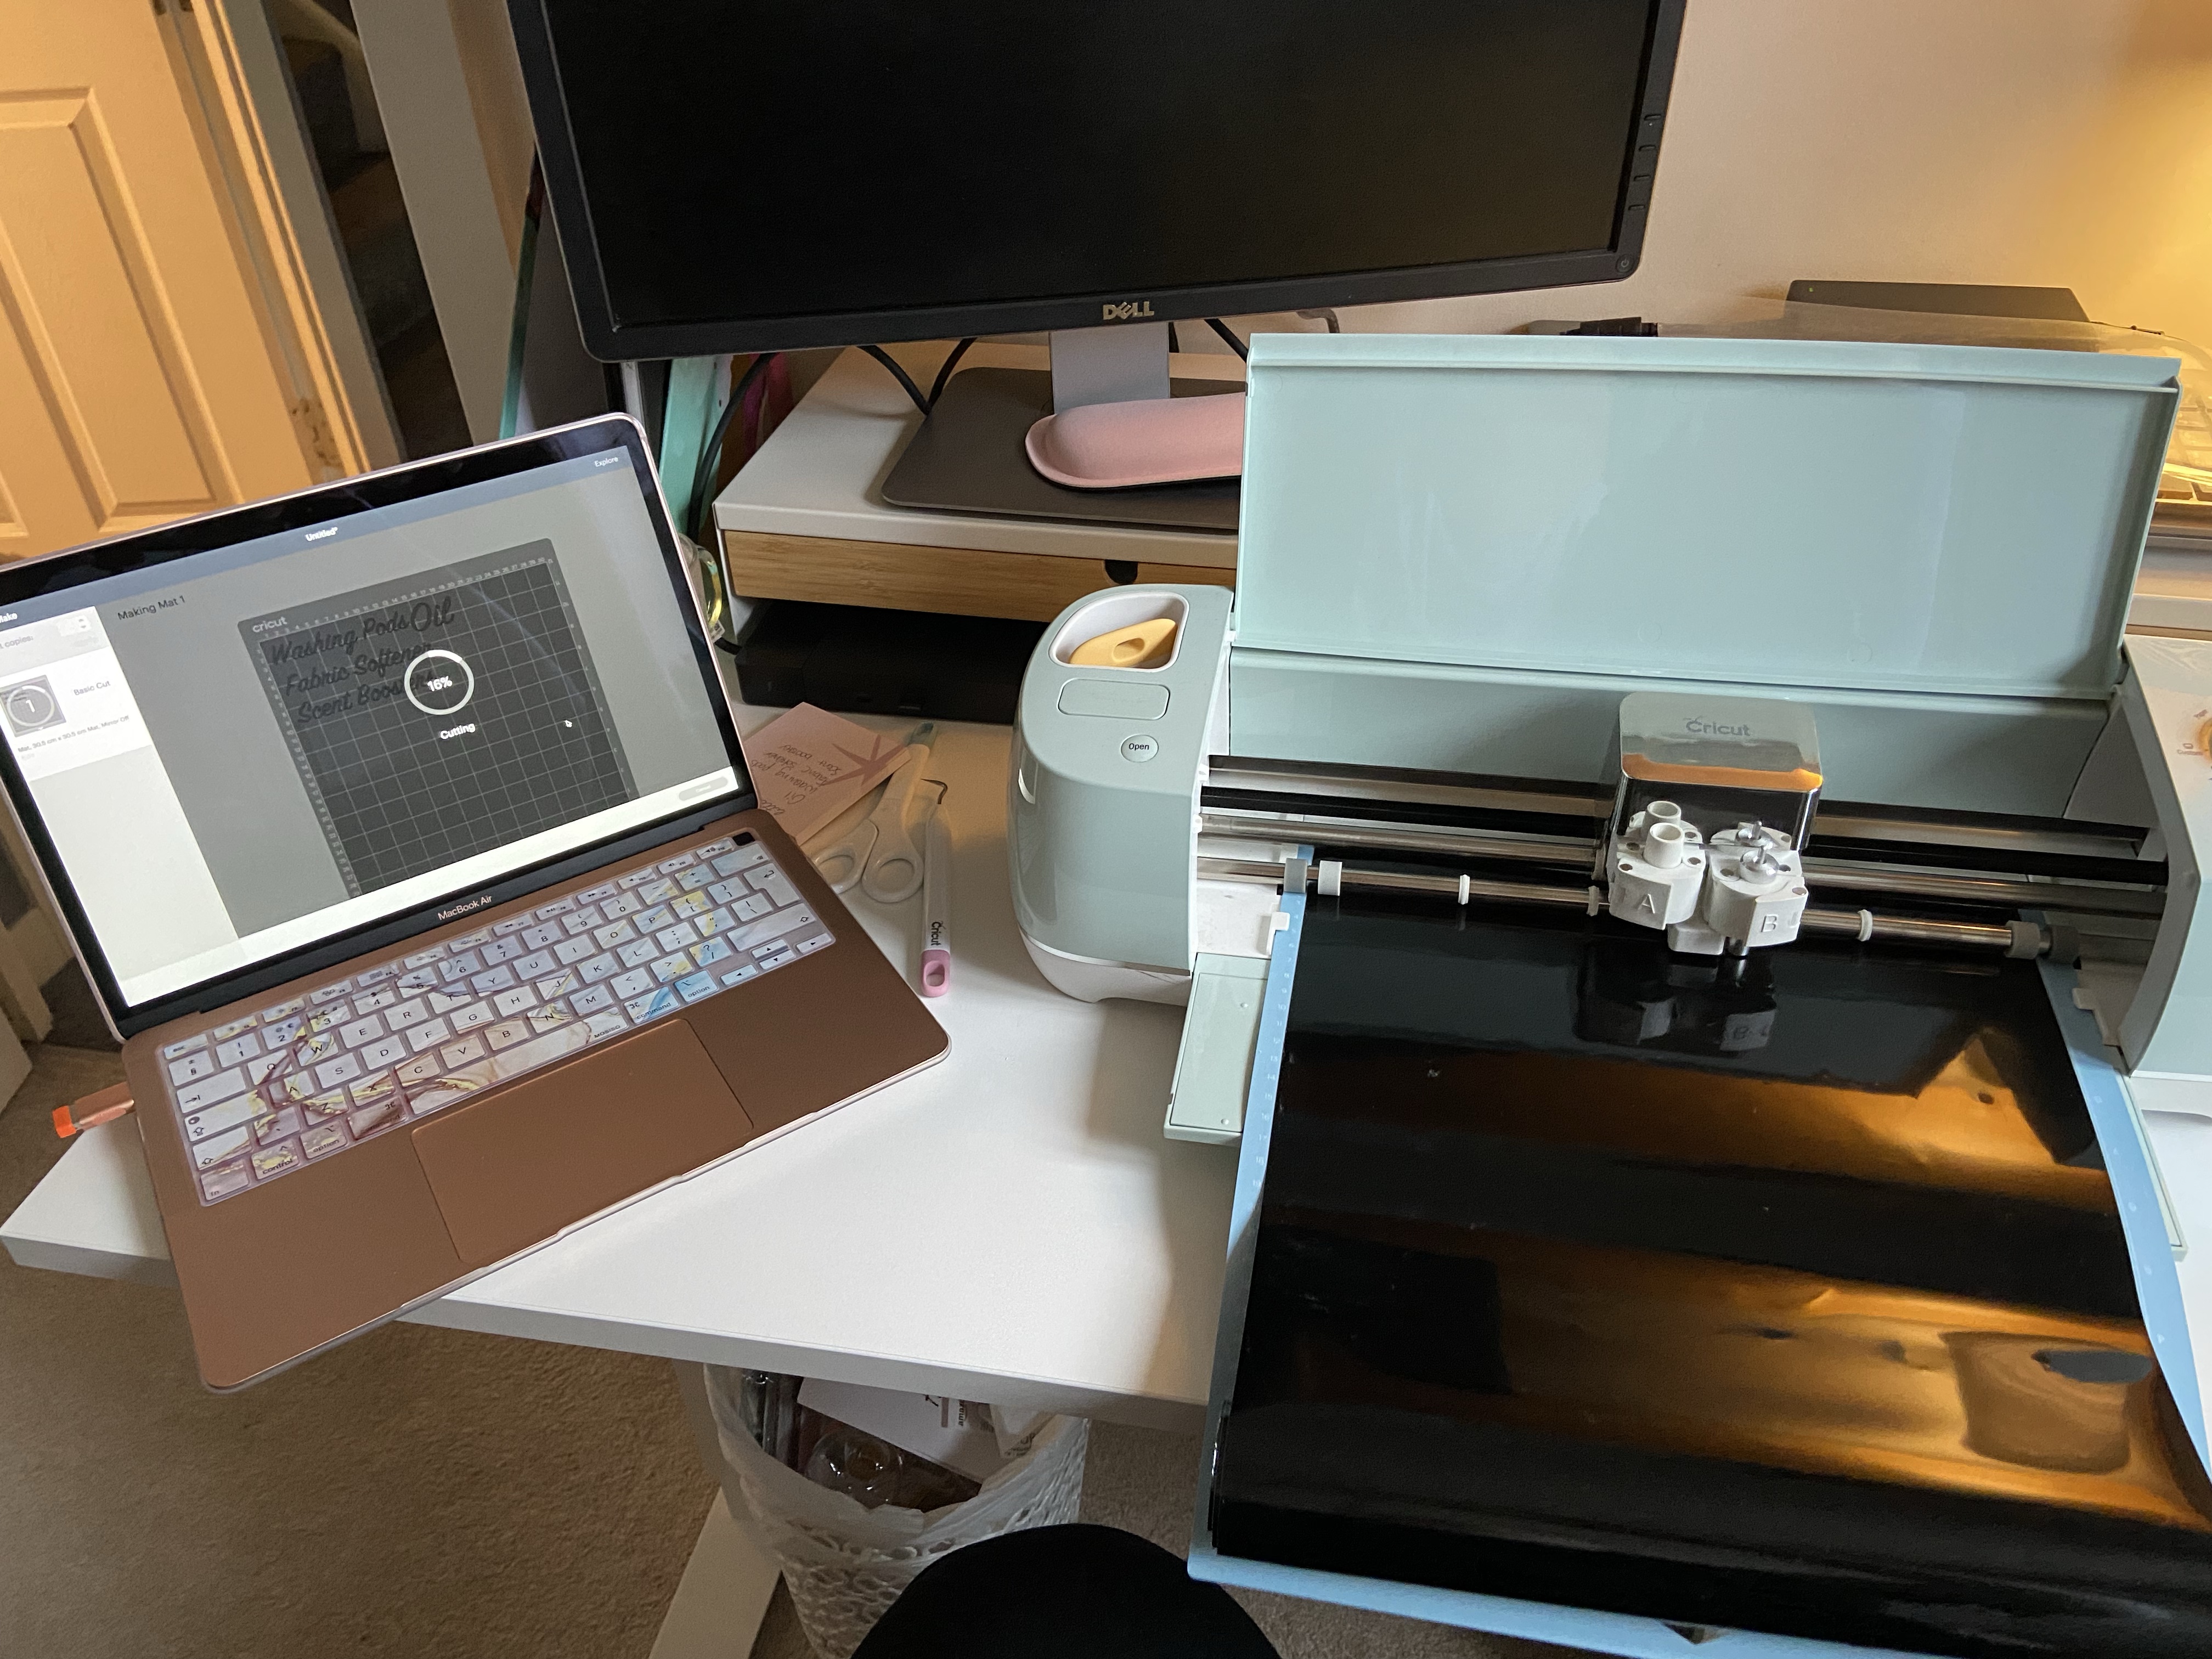
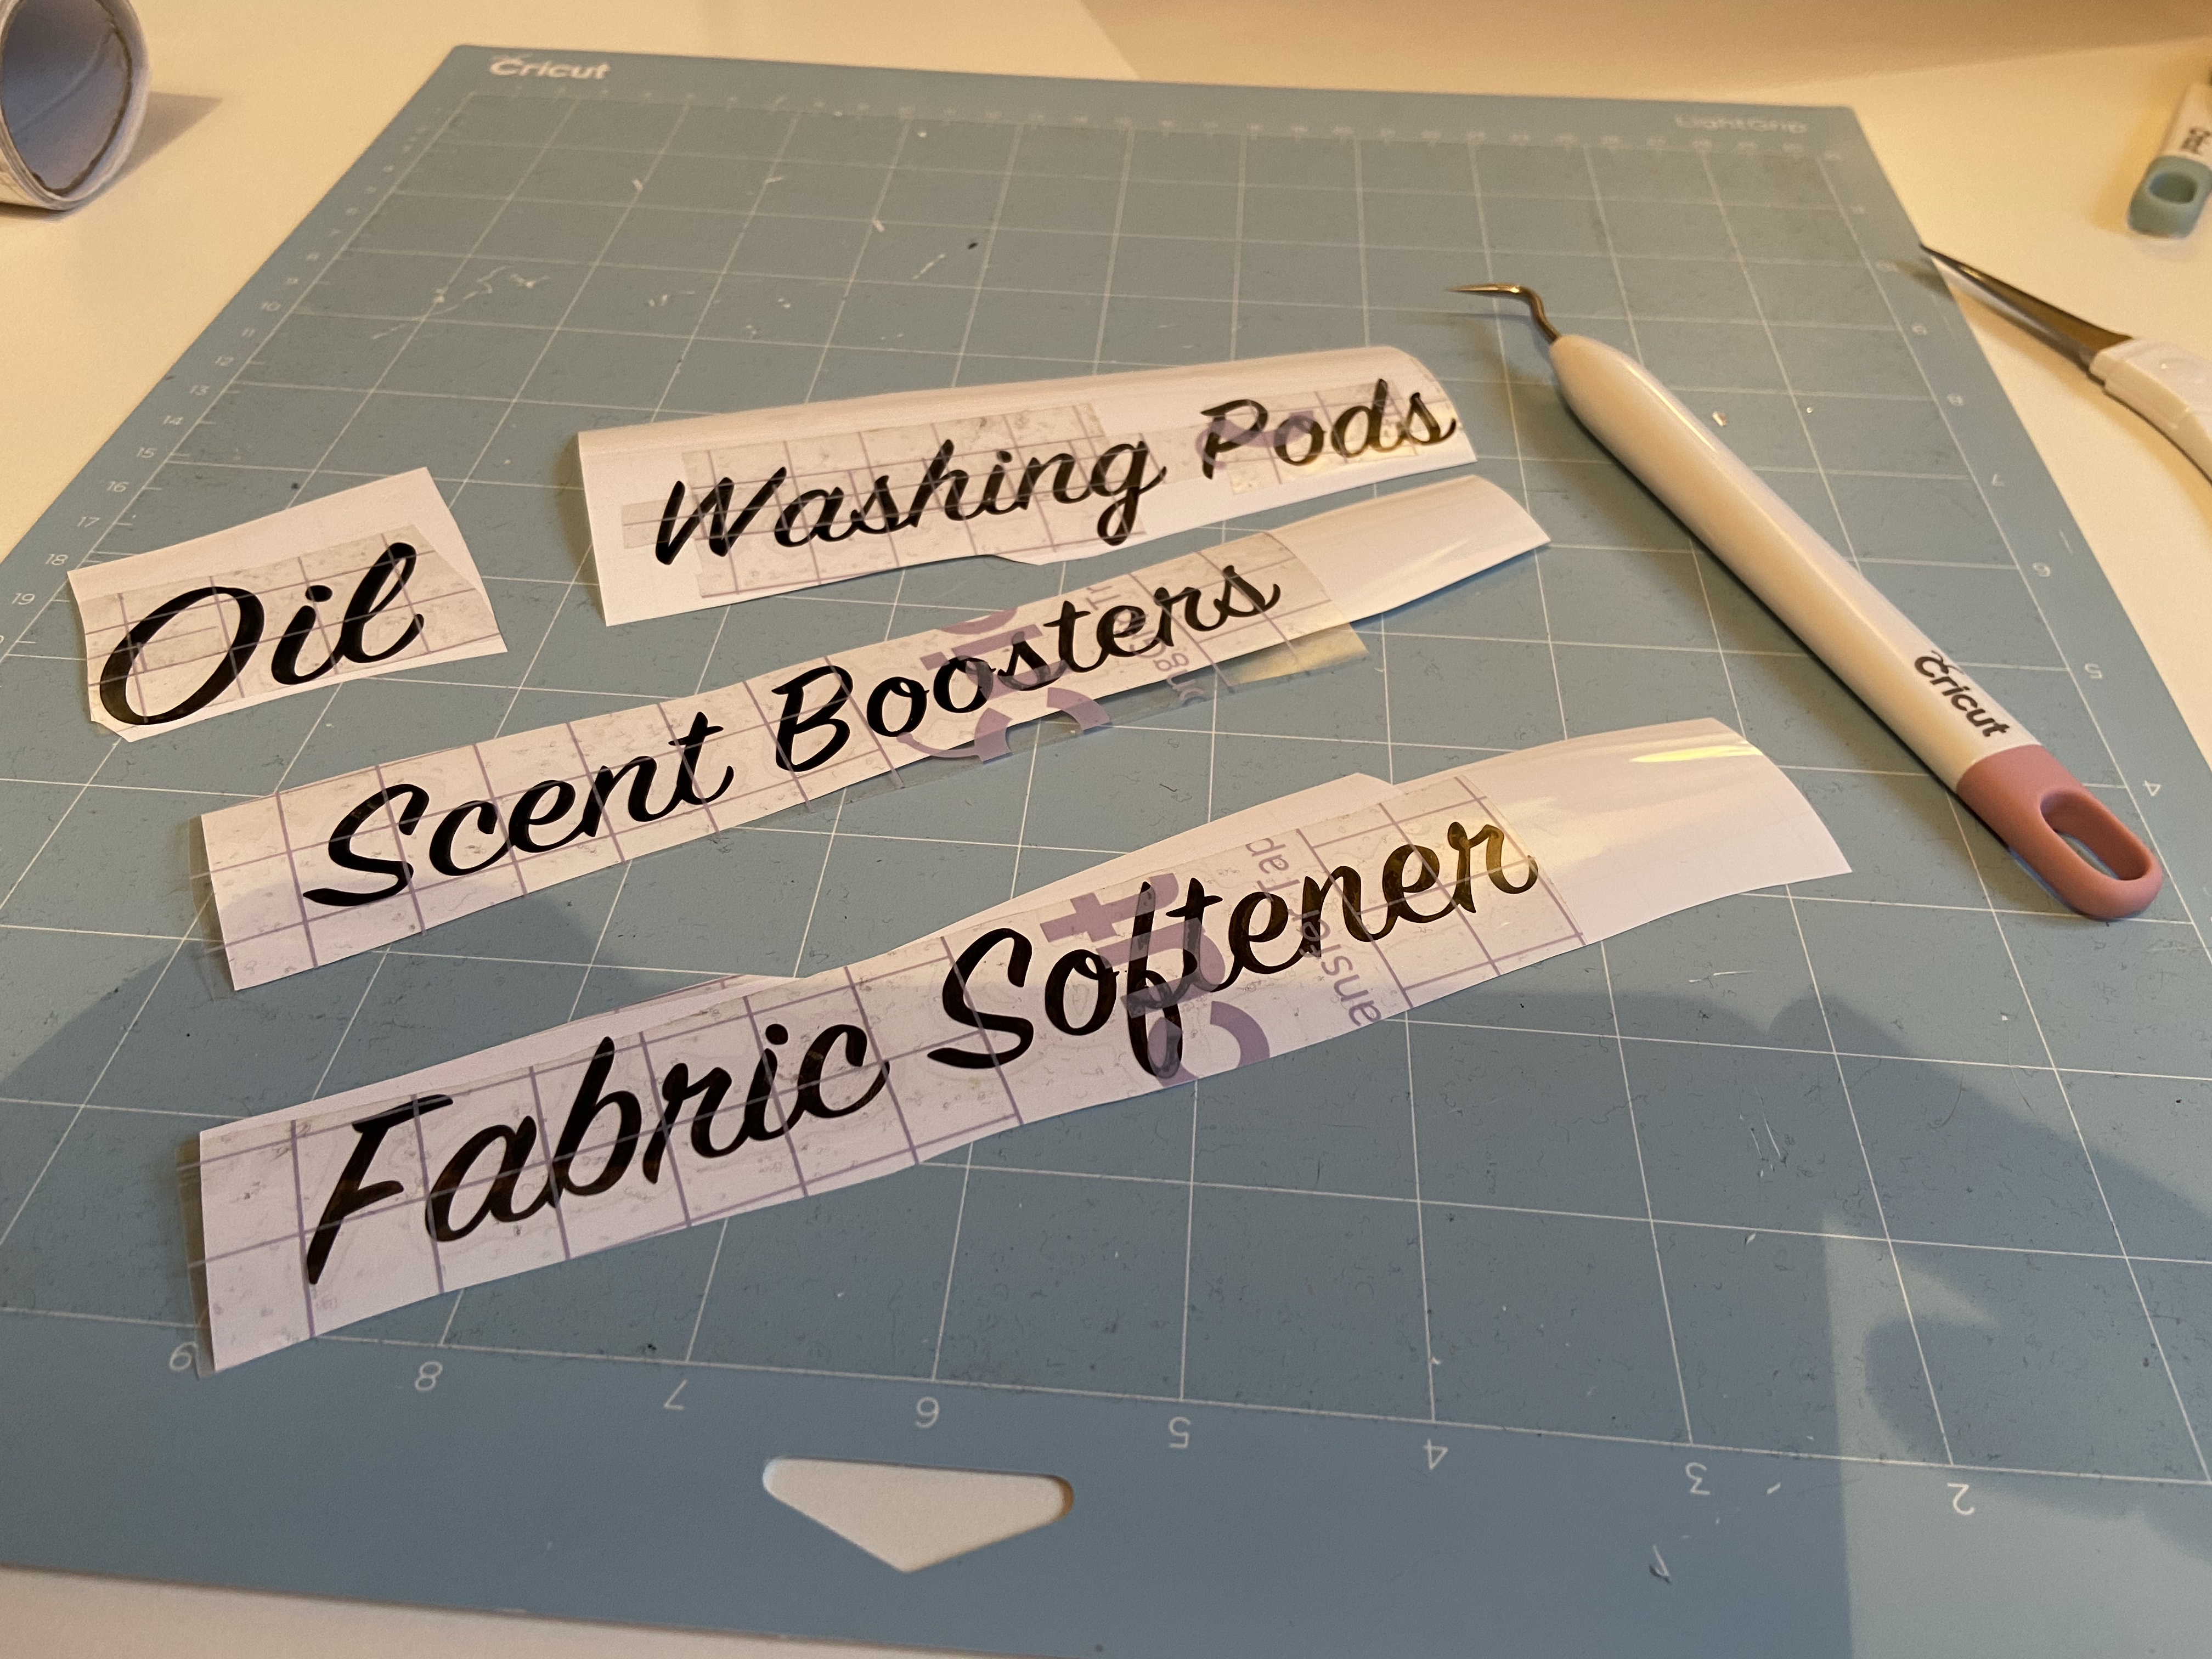
I then used my Cricut to cut out some text saying Happy Halloween and protected the words in a plastic document folder so it would be ok outdoors. You can’t even tell the words are in the plastic.


Doesn’t it look good! I used some blue ribbon I had to just add a little pop of colour and used a command hook to secure it to the front door. I’m really pleased with it and it only cost £5!