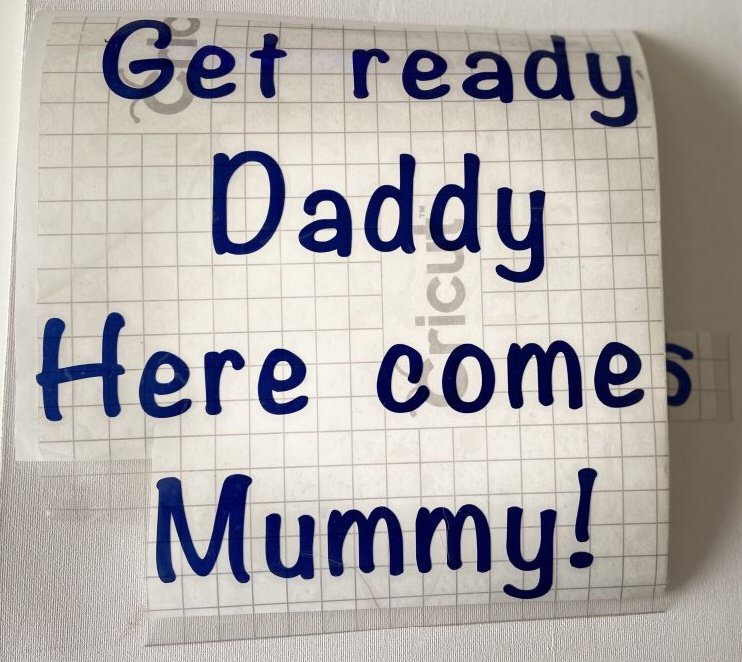
I wanted to DIY a ‘here comes Mummy’ sign as all the signs I saw were £15 plus and I knew I could make one for less than that.
I actually had a blank canvas already in my craft stash for future projects so mine was effectively free for this project. However if you needed to buy one hobbycraft have a lot of white canvases the same as mine.
I have a Cricut Explore Air and use it for all kinds of projects. I got some blue vinyl for this project as blue is my wedding colour but you could use any colour vinyl.
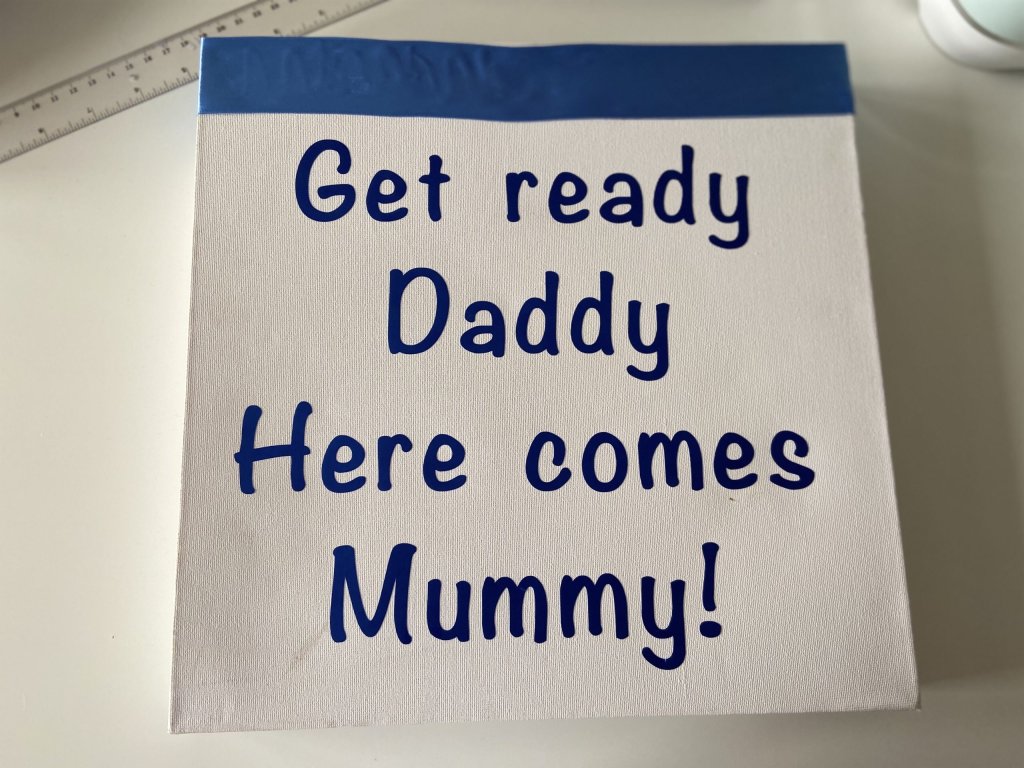
Use the Cricut design space programme to type out your text to the required size for your canvas, I left space for blue ribbon at the top to decorate.
After the Cricut finished I weeded out the letters and applied the transfer tape so I could move it onto the canvas. I actually misjudged the original blue vinyl so the s on comes wasn’t included, I had to recut the s.
I applied the vinyl lettering to the canvas and used a glue gun to apply ribbon to the top of the canvas. I was going to add a ribbon handle for my son to hold but he said he would rather hold it on the edges instead so I’ve left it off for now. Here is the finished product.
With Father’s Day coming up on 21st June 2020 some DIY projects you can do with items you might have on hand are:
– Cookie mix or cake mix jars, put all the dry ingredients into an empty clean jar with a label with instructions on tied around the neck
– Coupon book to be filled out by the child some examples could be breakfast in bed, walk the dog, night of babysitting by grandparents etc;
– Chocolate bar thank you poster, use chocolate bars instead of words and stick them onto poster board in place of the words for example ‘Daddy I love you because you always make me snicker with laughter’
– Pizza gift card or favourite restaurant gift card
– Any plain ceramic decorated with sharpies and baked in the oven means the sharpie won’t wash off after use, you could decorate and bake a mug, plate, accessory dish
I’ve put a load more ideas on a Pinterest board which can be found here https://pin.it/10VZOex
I personally absolutely love a to do list and a planner. Over the past couple of years I have found that I am repeating my lists in multiple places, for example my calendar and reminders are in Google Calendar but I also write them down in my paper planner.
I love writing to do lists in notebooks such as packing lists for upcoming trips or as I’m currently planning my wedding I have a lot of lists for that event. I then tend to replicate those lists in an app called Asana as I’m in it every day for work.
Asana is fantastic piece of software that is completely free and you can either access it through their website or through the app. I tend to use the website to organise my work tasks but then when I think of things I need to remember when I’m at home I can use the app to update it. It is separated into a work section where you can share tasks with coworkers and add due dates and a personal section that only you can see.
I also use it for scheduling recurring tasks that I need to remember such as cleaning. I can write a task such as clean oven grill trays and then set a repeating period so once I’ve ticked it off it will automatically reset to a fortnight after that.
I do like a planner for future planning though and to remind myself of things like my partners work schedule and my sons activities. I wanted a digital planner that I could use my iPad or iPhone to update and I did buy one from Jordan Page at funcheaporfree as I love her block schedule planning method but I didn’t find it covered everything I needed as it’s an undated planner there wasn’t calendars for months or years.
I use a website called Canva which is free and brilliant for creating all sorts of designs including A4 documents, posters, social media posts, invitations etc; I used Canva to create my perfect planner and download it as a PDF. I used the website Calendaropia to snippet or screen shot calendars for the years and months.
You can create a document up to 100 pages so I have created a planner that has two daily pages to one A4 sheet so if I printed it the planner would be A5 in size. I have kept blocks to continue to follow Jordan Page’s block schedule method but adapted it to include a big section for to dos, the main goal for my day and the meals for that day.
Use Canva to create your own planner and you can download it as a print PDF with bleed and crop marks so you could even get it professionally printed and bound if you require a paper planner. Alternatively you can do what I’m going to do and use the PDF to use on the Books app on an iPad so I can still write notes on it using my Apple Pencil.
I’m a big fan of labelling items as I live with two boys and I have found that if I label the areas where I want things to be put I have a much higher chance of those items being put back in those places.
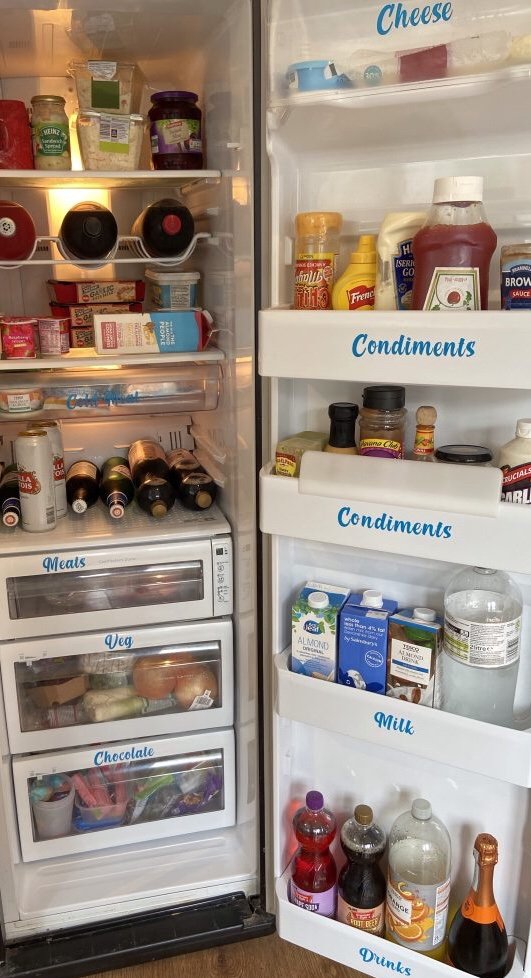
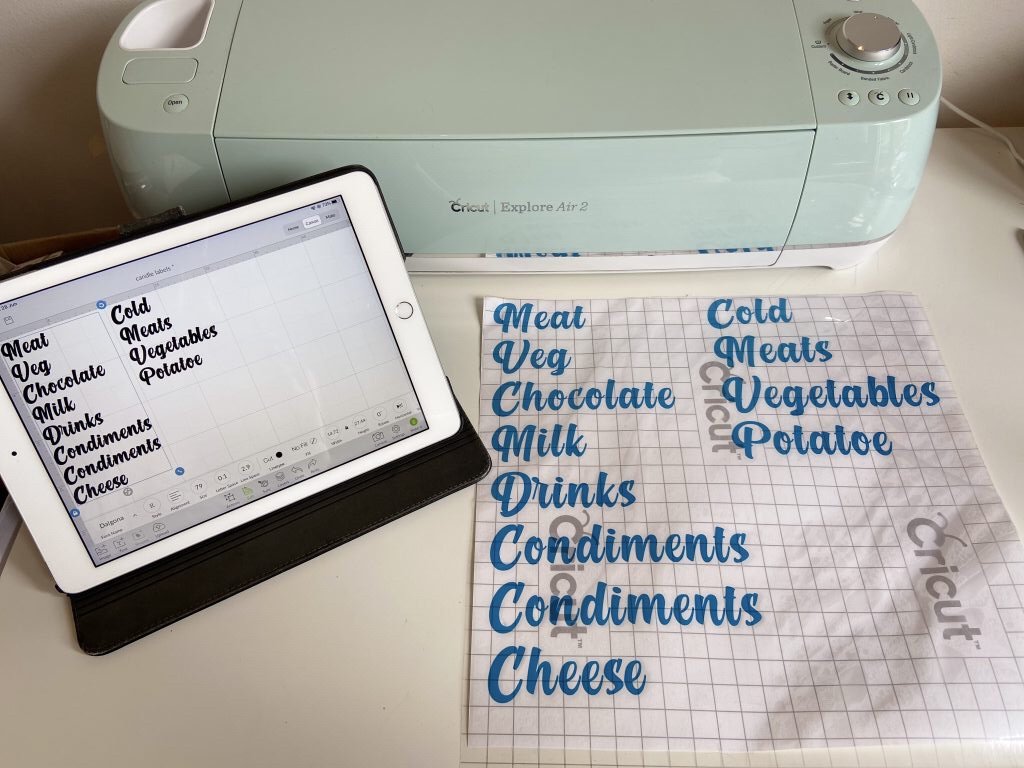
I had some leftover blue vinyl so I used a free font I love called dalgona and created some fridge labels using Cricut Design Space.
I labelled up the drawers and the door shelves. I am so happy with how it all turned out and it is definitely working!
Two of the labels were destined for the freezer, I wasn’t sure how the vinyl would hold up in the freezing temperatures but so far they haven’t had a problem at all.
I have been labelling my food containers using my label maker but I wanted something more impactful and colourful. I am the only girl in the house (well, me and the dog!) so I went with blue vinyl for the labels rather than the usual black or white. Mainly just because I had the vinyl as it was the sampler that came with the Cricut and I had no other project to use it on. Waste not want not and it meant the project was free.
Here’s an image of my containers before…
The containers before
The containers looked so much better afterwards, this project took me five minutes and didn’t cost me anything!
I love cooking fresh food from scratch and I follow slimming world a lot of the time which is easier to follow if you do home cooking so I have all of the stock cube flavours on hand at all times. If you’ve never tried adding a vegetable or chicken stock cube to rice or pasta I highly recommend it, it’s so tasty!
I was keeping my stock cubes in my spice cupboard which is a small pull out cupboard with wire shelving but the slim boxes kept falling through the slots and I was buying different size stock cubes so I wanted some storage that would suit different size cubes that I could put into my food cupboard instead of having the little boxes in there.
I found this small three drawer unit on amazon which was ideal for what I needed and fits perfectly in the cupboard. I used my Cricut Explore Air to cut out the labels using the free hello honey font.
This is a great idea for an inexpensive gift that looks more luxe than it really is. I bought some twin packs of scented candles from Poundland and personalised them with the recipients name on.
I chose a free font called Dalgona from www.dafont.com and split up the twin packs of candles to make individual gifts.
Cricut equipment for candle gifts
I used my Cricut Explore Air to create the names and then just stuck them onto the candles. This would make a great end of year teachers gift, secret Santa gift, work colleague gift or gift for a loved one who you know enjoys a nice scented candles. You could always upgrade the candle for a more expensive gift.
I used the free app Canva to design my save the date and invitations for my wedding which has been postponed now due to Coronavirus. For my save the dates I designed a postcard style template and for the invitation I designed a greeting card A6 format invite. I then used an online printer www.rugbyprinter.co.uk and got 50 invites printed for £24.
I also created a free wedding website with www.withjoy.com that I can manage RSVPs with and it has been really useful for updating the information with regards to our changing wedding date. I made sure the web address for our wedding website was on our save the dates and our invites.
Inside of inviteOutside of invite
Designing them myself meant I got the exact style and saying that I wanted, especially important as we were planning to have a ceremony abroad so I wanted an ‘elopement celebration’ invite rather than a wedding reception invite. I couldn’t find anything that had the exact wording I wanted.
I also saved a fortune as just getting them printed was a fraction of the cost of buying the invites elsewhere.
I don’t know about anyone else but my son keeps his room a lot tidier if I give him a place for everything and label those places. I even label his clothes drawers.
Normally I use my trusty label maker but he has a stack of large plastic drawers that he stores his ‘toys’ in although as he’s 11 it’s more electronic cables, school stuff and the odd toy.
For these drawers I did use the label maker but I wanted larger labels for the drawers than I could produce with the label maker so I designed some labels just using text in Cricut design space and used some white vinyl I had in my craft stock.
This project literally took five minutes and my son loves the new labels.
I really want a sand ceremony as part of my wedding ceremony. We have had to postpone our wedding due to Coronavirus but we had originally booked a registry office and then a vow renewal ceremony in Majorca with a reception party afterwards in the UK. We were going to include the sand ceremony as part of our vow renewal ceremony.
When I was searching for sand ceremony kits the prices were just way more than I could justify. In the end I made my own using vases from ikea, sand from ikea and an online wholesaler Country Baskets and a glass bottle with a glass cork which I found in a shop in Florida while on holiday.
I used my Cricut Explore Air to create a personalised label, our family surname will be Robinson so my label said The Robinson Family EST. 2020. It’s quite hard to see from the image below the label as it’s clear glittery vinyl but I designed it that way so it wasn’t too obtrusive once the bottle is filled with the sand.